With our latest update, you will be able to use all EPSON receipt printers that have EPOS Print feature, for printing your online orders.
1. Enabling EPOS Print Feature for EPSON Printer
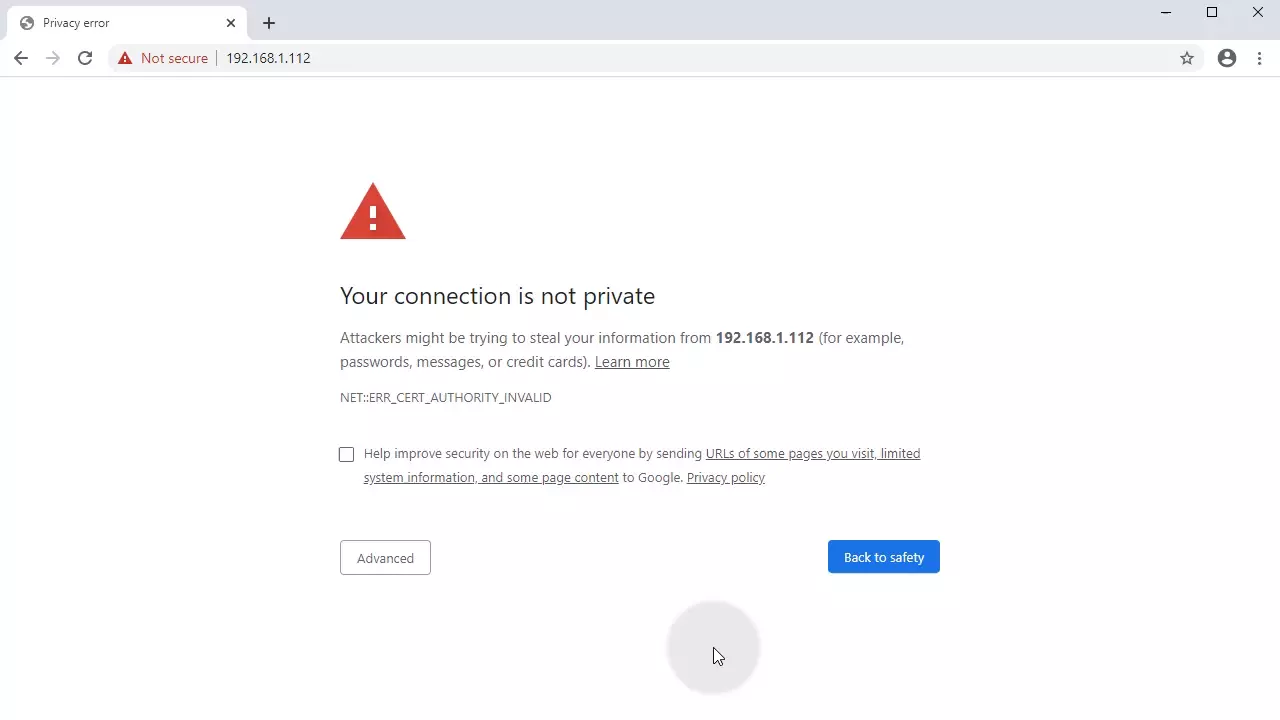
You need to open your browser (We always recommend Google Chrome) and type your printers IP address on address bar, than hit enter.
You will see a page like this: (Connection not secure)
Follow the steps:
Click on Advanced, and than click on Proceed to (IP Address)
Page will ask you username and password. By default, username: epson password: epson
Click on ePOS-Print link on left navigation area, and change to following settings:
ePOS-Print Feature: Enable
Device ID: local_printer (or note whatever is written by default, you will need it in next step)
Printing Method: Thermal (203dpi)
Character Code Tables: Page 0-5, 16-19, 20-21, 26, 30-31, 11-15, 32-53
When set, click on Send button, and click on Reset button on the next page.
Your EPSON Printer will be restarted in 10-15 seconds. You can continue to next step for completing setup.
2. Changing Panel Print Settings
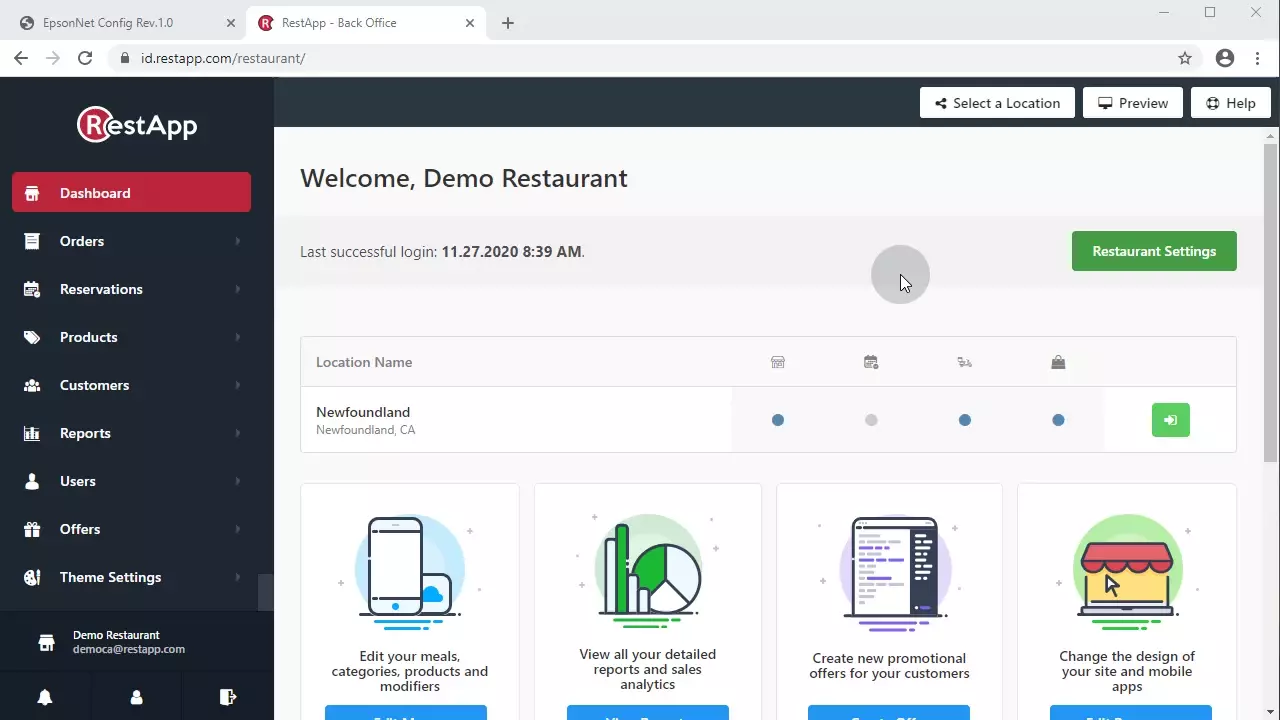
After you complete setting up your printer, now go back to your RestApp dashboard.
First, you have to login to your branch (you can’t make this change from your admin account.) For that, you can easily select a branch from top right (Select a Location) button.
Now you need to enter New Orders page from your main menu.
In New Orders page, click on Printer icon on top right. A popup will appear. Select EPSON API Print
Enter IP Address and Device Name of your EPSON Printer. (Device Name was in ePOS-Print page of your Printer dashboard. Its local_printer by default. And click on Save.
That’s it. Now you are ready to print your orders from your EPSON network printer.